Once you learn this, you do not need in-game shaders just for screenshots. I originally followed this article. It worked, but some parts felt unclear in practice, so I wrote this beginner-friendly guide.
Preparation
Required Files
- Install Blender.
- Download Mineways.
- Download MCPrep.
- Prepare map, textures, player skin, and other assets.
Export Map to OBJ
Download and unzip Mineways, then open it.
At top-left, choose File > Open World > Find Your World and open your save.
Drag with left mouse and define region with right mouse. Height and Depth set top and bottom bounds. Selected area is shown in purple. If the main area is incomplete, adjust Height and Depth.
Do not set Depth too small, or unwanted lower blocks may be included.
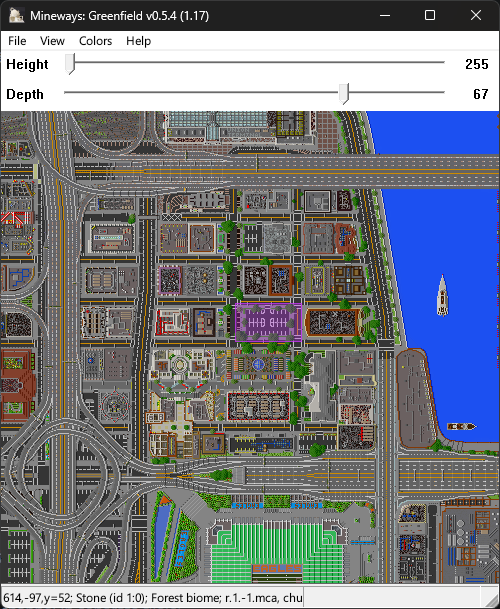
Then press Ctrl + R to export the selected region as OBJ.
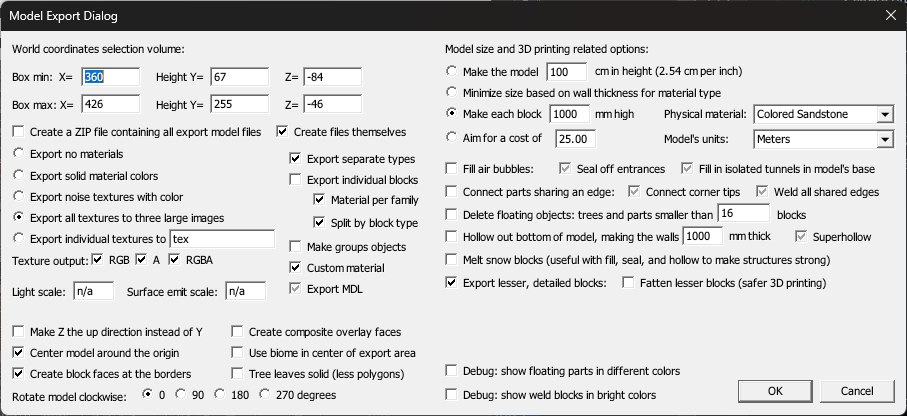
In the next dialog, you can usually click OK. If needed, adjust parameters according to your situation.
Blender Rendering
Open Blender and render the file you just exported.
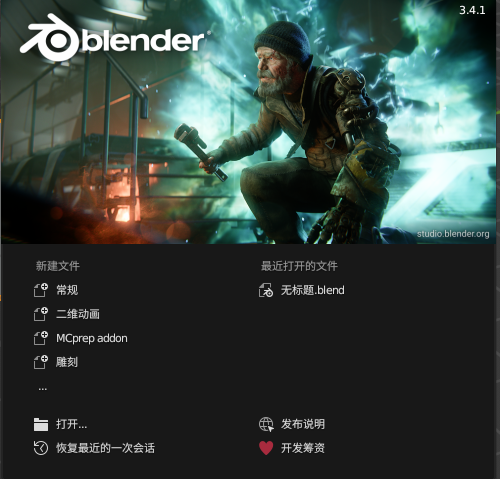
Click “General”.
Set Interface Language (Optional)
Open Preferences here:
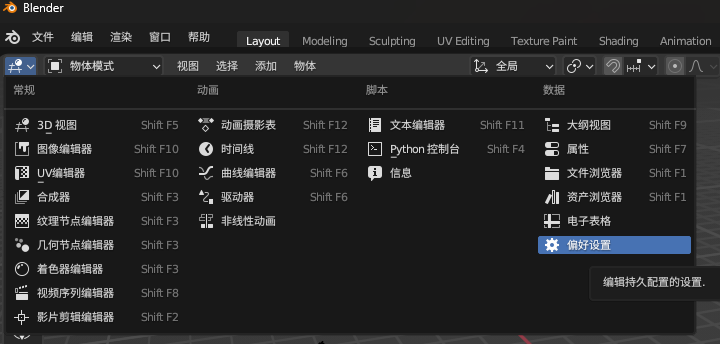
You can find the Language option on the right.
Install MCPrep
Still in Preferences, click Add-ons, then Install, locate the downloaded MCPrep package, and click install.

After installation, search MCPrep and check whether it is enabled.

Rendering Workflow
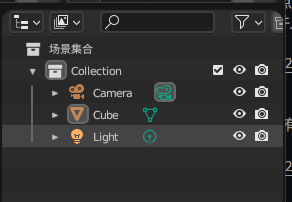
Press Shift + F5 to return to the main interface, then delete the three default objects on the right.
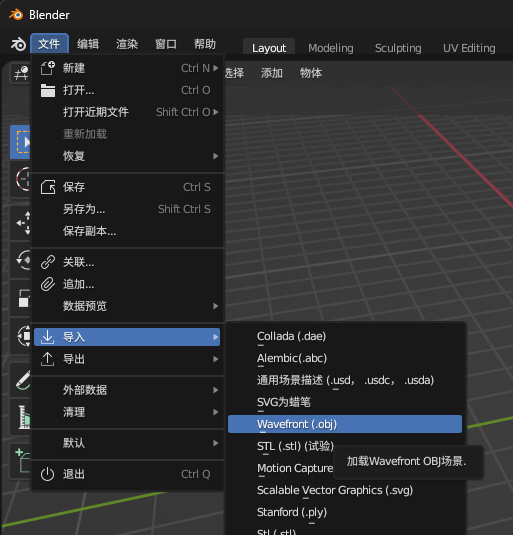
Then choose File > Import > Wavefront(.obj) and import your file.
After import, open the small triangle panel on the right and switch to the MCPrep tab.
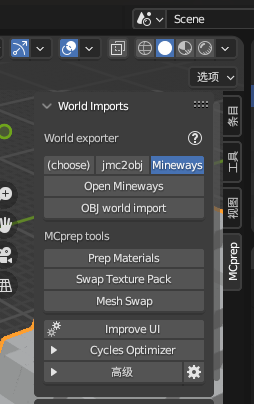
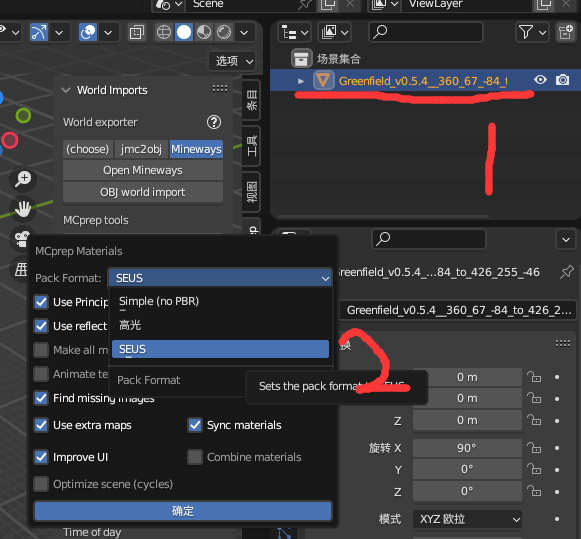
Select the imported model, click Prep Materials, choose Reflective or SEUS, then click OK. You should now see a textured model.
Now add sky and light: click Create MC Sky in MCPrep, then click OK.
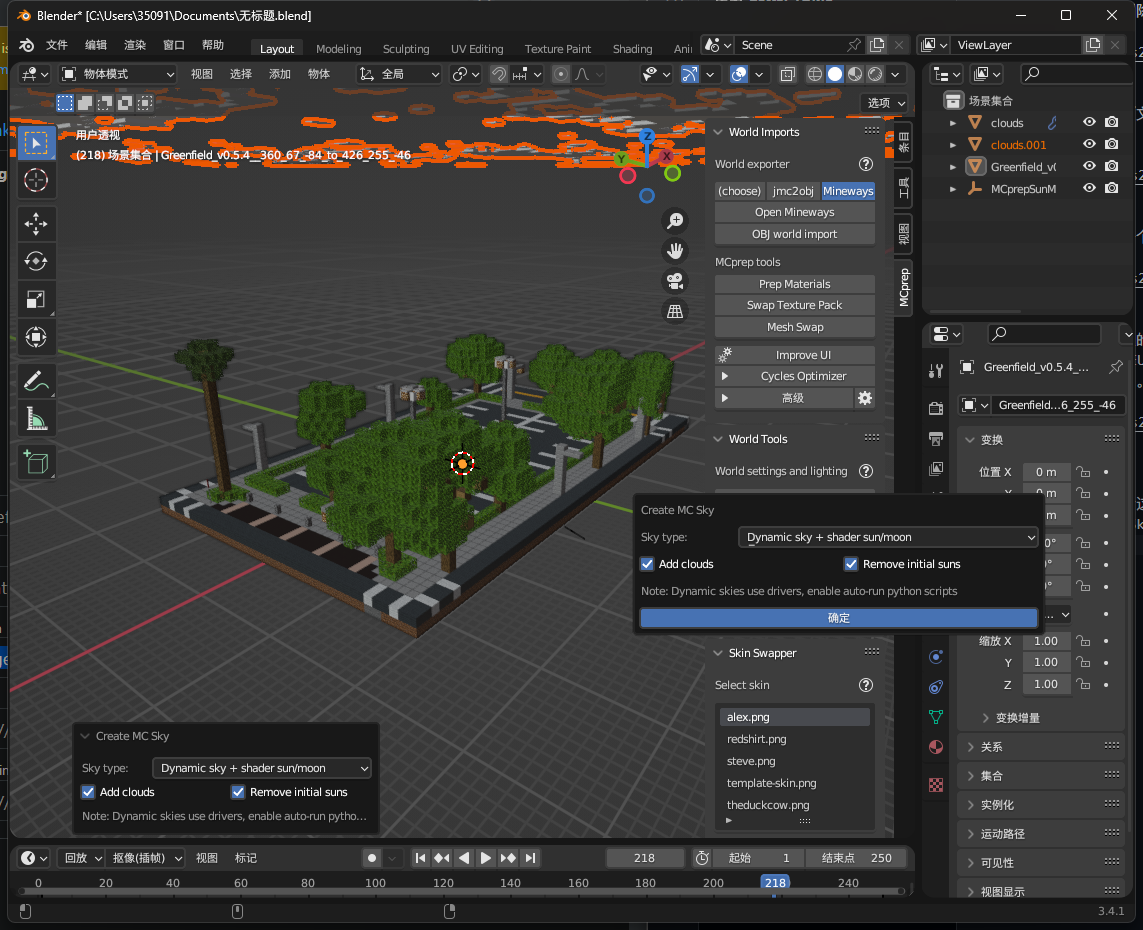
After creating sky, a Time of Day control appears below, where you can adjust lighting time.
Next add a camera: Add > Camera.
At first it may be hard to find the camera location, so switch to camera view from the right panel.
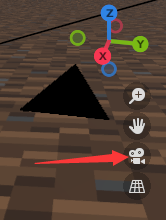
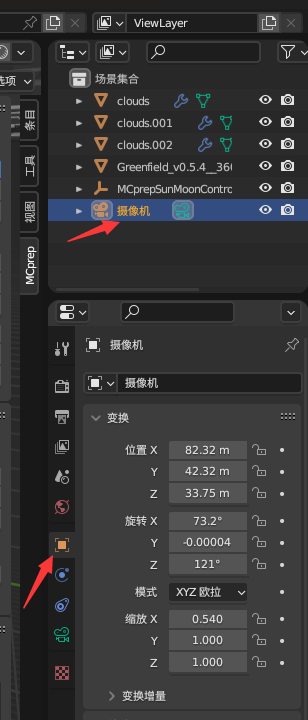
Whatever the camera sees is what gets rendered. Adjust camera position, rotation, and scale from the right panel.
Select the camera first, then adjust values under Object Properties until satisfied. Keeping camera view enabled helps.
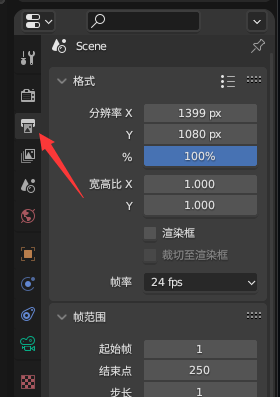
If image size is not ideal, adjust resolution under Output Properties. You can scale width and height proportionally for clearer output (with longer render time).
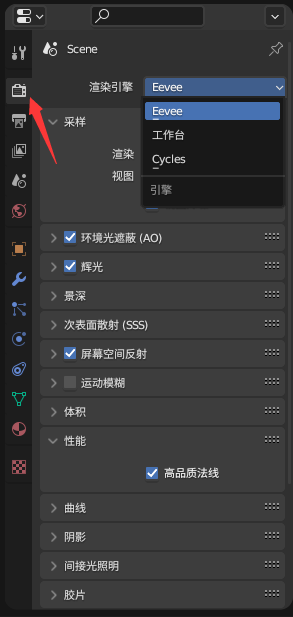
Then tune rendering settings in Render Properties. Different engines have different effects, so try them.
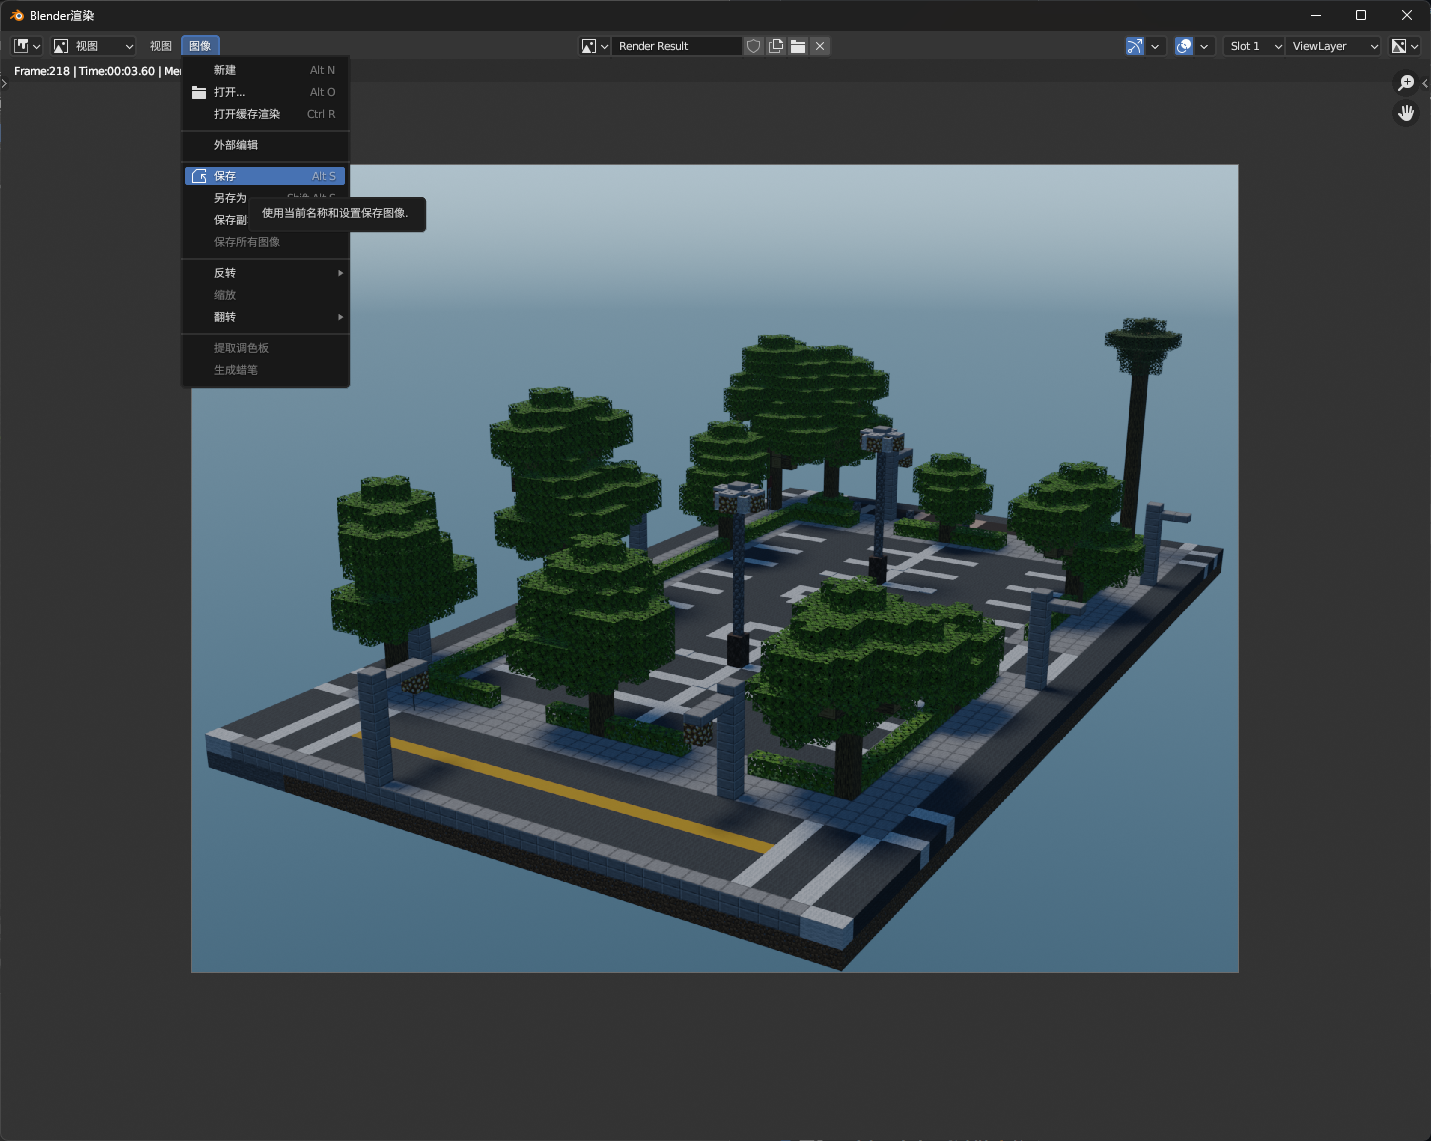
Finally click Render > Render Image. Wait a moment and your render is ready. Do not forget Image > Save.
Now go share your image with friends.